AD5803 - Toning
- Noemi Filetti
- 5 mag 2019
- Tempo di lettura: 2 min
After I watched Alexey Titarenko's videos which shows him doing toning corrections in his prints, I got very interest about this technique and I have found this video showing and explaining the process of bleaching and sepia toning.
Toning techniques allow to give a particular aesthetic to the print by enriching the grays palette with gentle tones. However toning is not only a stylistic choice, but is also greatly improves the archival longevity of a print.
Toning a black and white photograph is the process of converting the silver within the print to another metallic compound. It’s a chemical process that can be done without a darkroom and always with normal lighting on. The toning is applied to prints after they have been processed and washed in the normal way and can be undertaken in ordinary room lighting or even outdoors.
Different papers will respond differently. Generally speaking, fibre papers react more enthusiastically than resin coated papers, and warmer tone papers respond better than cold tone papers. The developer used can also influence the result. It is not only the extent of toning which is affected by these variables, but also the colour. It is vitally important to wash prints thoroughly between toning processes. Poor washing will result in “streaky” or “uneven” toning and can result in chemical blotches which are difficult to remove. Fibre prints, in particular, need prolonged washing between processing stages to prevent chemicals being carried over from one bath to the next.
The most common toners used with modern black and white printing include Sepia, Blue, Copper/Red and Selenium.
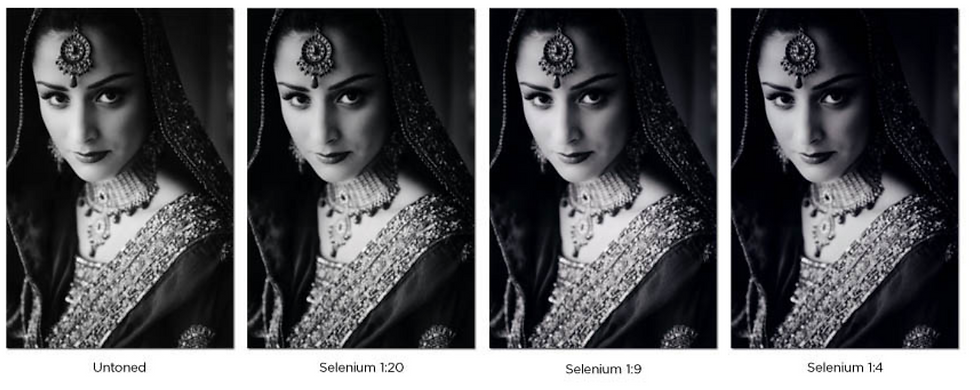
Here some examples of different toners and dilutions:
Sepia

Selenium

Toning can be used also in split toning techniques, which are used to obtain different colours for the highlights and shadows of prints by using two toners one after the other. When toning, the highlights of the print are usually the first to change colour followed by the shadows. Thus a reduced time in the first toner starts the toning process and affects the highlights of the print. The second toner completes the toning process and affects the shadows of the print. By adjusting the time in the first toner, more or less of the tonal range of the print is affected by the first toner. As a guide, IlFord recommend to try reducing the toning time in the first toner to about 25% of the recommended time. Wash the print well before using the second toner.

Commenti